DIY Beanies: The Ultimate Après-Ski Activity
- Tracie Wright

- Jan 24, 2025
- 3 min read
The main event isn’t just sipping espresso martinis and dipping mini potatoes in cheese fondue (though we’re definitely doing that too). It’s about getting crafty with a DIY beanie bar—the perfect après-ski activity to keep the vibe chic, cozy, and oh-so-creative.

How to Plan and Build the Ultimate DIY Beanie Bar
Step 1: Gather Your Beanies
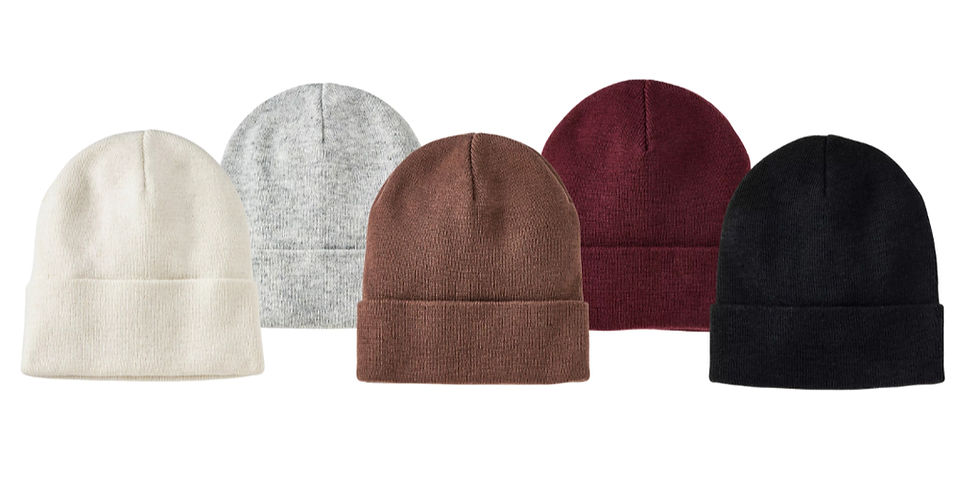
Start with a variety of beanies to suit different tastes. I opted for neutral colors like white, gray, and black, which I found on sale at Target! These provide a great base for bold or subtle designs.
Step 2: Curate Your Accessories
Your DIY beanie bar should include a variety of materials to spark creativity. Here’s a list of must-haves:
Patches: Include both leather patches (custom-engraved or plain) and stitched patches for texture variety.
Rhinestones and Pearls: Perfect for adding a touch of glam.
Pom-Poms: Provide pre-made pom-poms to glue on permanently or attach with a safety pin for versatility. Be sure to fluff these with a hairdryer before assembling your beanie bar!
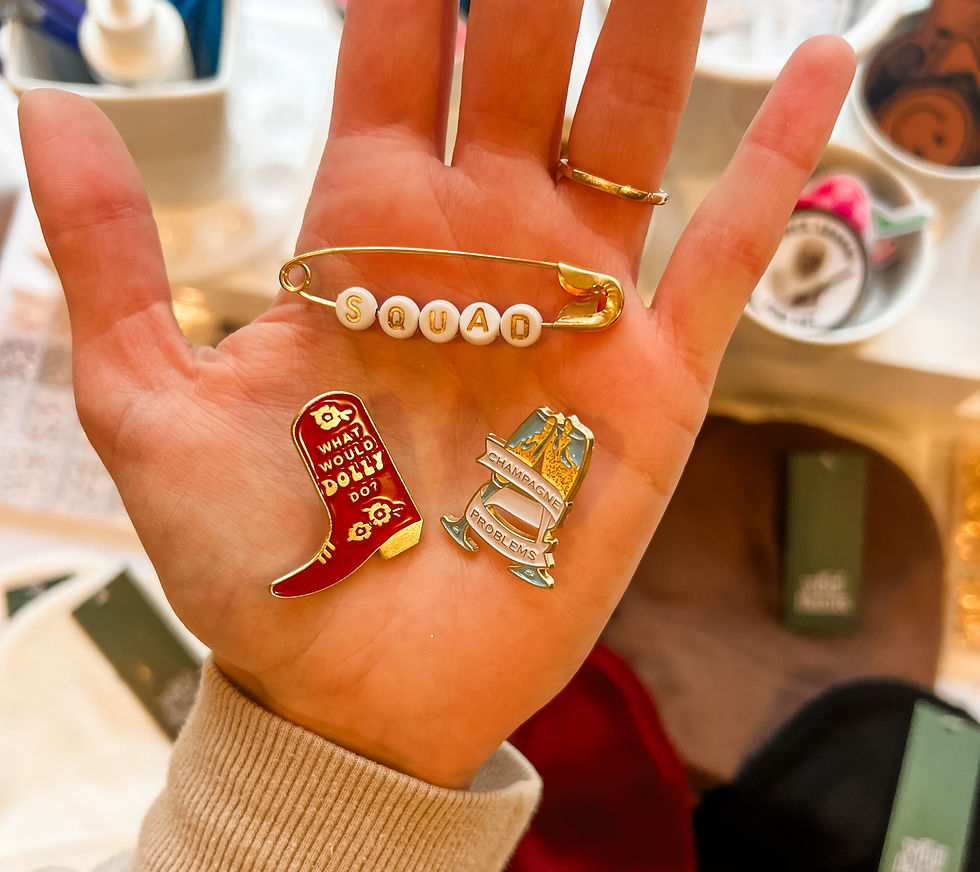
Pins and Brooches: For quick, removable embellishments.
Step 3: Set Up the Beanie Bar
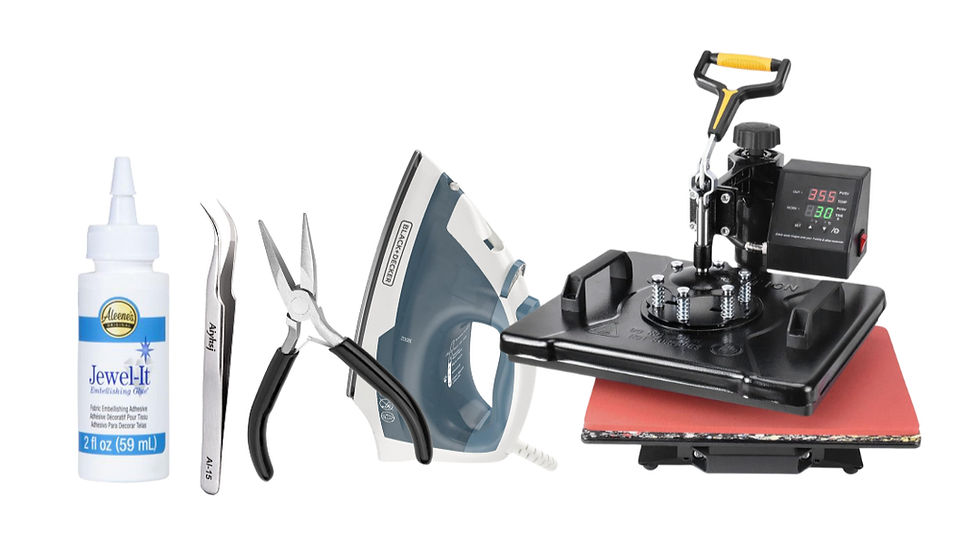
Arrange your materials in an organized and appealing way to inspire your guests. Use bowls, trays, or tiered stands to display accessories. Group similar items together—like all the patches in one area and rhinestones in another—for easy access. Don’t forget to have tools like tweezers, fabric glue, an iron (or heat press) and parchment paper within reach.
Step 4: Provide Instructions
Create a simple step-by-step guide (printed or written on a board) for guests to follow. This will help everyone get started and keep the process flowing smoothly. Here’s an example:
Choose Your Beanie: Pick your favorite color and style.
Select Your Decorations: Browse the accessories and gather what you love.
Plan Your Design: Arrange your items on the beanie before attaching anything. Snap a reference photo if needed.
Adorn Your Beanie:
Iron-On Patches/Vinyl Decals: Place the patch or decal on the beanie. Cover it with Teflon or parchment paper and use the heat press or iron to adhere it, applying firm pressure for 10-15 seconds. Let it cool before moving it.
Rhinestones/Pearls: Use tweezers to place them precisely and secure them with fabric glue. Let dry completely.
Safety Pins with Beads: String beads onto safety pins and attach them for a fun, removable touch.
Pom-Poms: Glue them on permanently or attach them with a safety pin for versatility.
Pins/Brooches: Add these last for easy flair.
Flaunt your masterpiece: Try it on and snap a photo for the group!
Take care: Hand wash only. Avoid direct heat on glued embellishments.
Step 5: Create a Try-On Station
Set up a mirror nearby so guests can try on their creations as they go. Encourage them to tweak their designs until they’re just right.

Step 6: Flaunt Your Masterpiece
Once everyone finishes their beanies, it’s time for a photo op! Encourage your guests to show off their creations and snap some group shots for the memories (and the 'gram).

A Personal Touch: Custom Patches by Yours Truly
I couldn’t resist taking things up a notch by creating some custom patches with my Glowforge. Using leatherette patches and sublimation blanks, I whipped up designs that range from sassy to sweet. References to things my friends and I say all the time, iconic Real Housewives quotes, cute and girly images, and, yes, some delightfully offensive options—because why not?

At Beanies & Martinis, the beanie bar is the heart of the party. It’s where laughter, creativity, and personality come together to make something truly special. So grab your beanies, your besties, and a martini—it’s time to create!


Comments